Table of Contents
Why Manual Entry is Killing Your Productivity
Let’s be real for a second: nobody starts a business because they dream of manually typing 500 bank transactions into accounting software. It’s tedious, it kills your productivity, and frankly, it’s where human error loves to hide.
If you are migrating from another platform (like Xero or Excel) or just need to bulk-upload a month’s worth of expenses, the ability to import CSV into QuickBooks Online is your lifeline. It transforms hours of data entry into a 10-minute task.
However, QuickBooks is incredibly picky. If your spreadsheet isn’t formatted exactly how QBO wants it, you’re going to spend more time fixing error messages than you would have spent just typing the data in.
In this ultimate guide, we will cover the no-nonsense workflow to get your CSV data into QuickBooks Online without tearing your hair out.
Phase 1: Preparing Your File for Import (The “Garbage In, Garbage Out” Rule)
90% of the work happens before you even log in to QuickBooks. You cannot just download a sheet from your bank or old CRM and shove it into the uploader. It will fail.
To successfully import CSV into QuickBooks Online, you must clean your Excel or Google Sheet first.
The 4 Non-Negotiables of Formatting
- The Header Row: The very first row (Row 1) must be your headers. Common headers include Date, Description, Amount, and Payee. If there is anything above that row—like a bank logo or a “Statement Date” line—delete it immediately.
- Date Formats: This causes the most headaches. Ensure the entire Date column is formatted consistently (e.g., MM/DD/YYYY). If you mix formats, QuickBooks will reject the whole file.
- The “Amount” Column: Ideally, keep it simple. Use one column for the amount. Positive numbers are money coming in; negative numbers (use a minus sign) are money going out.
- Currency Symbols: Get rid of them. You want raw numbers (1250.50), not formatted text ($1,250.50).
Pro Tip: If you are using formulas in Excel to clean the data, make sure to “Copy” and “Paste Values” before saving. Then, save the final file specifically as a CSV (Comma delimited).
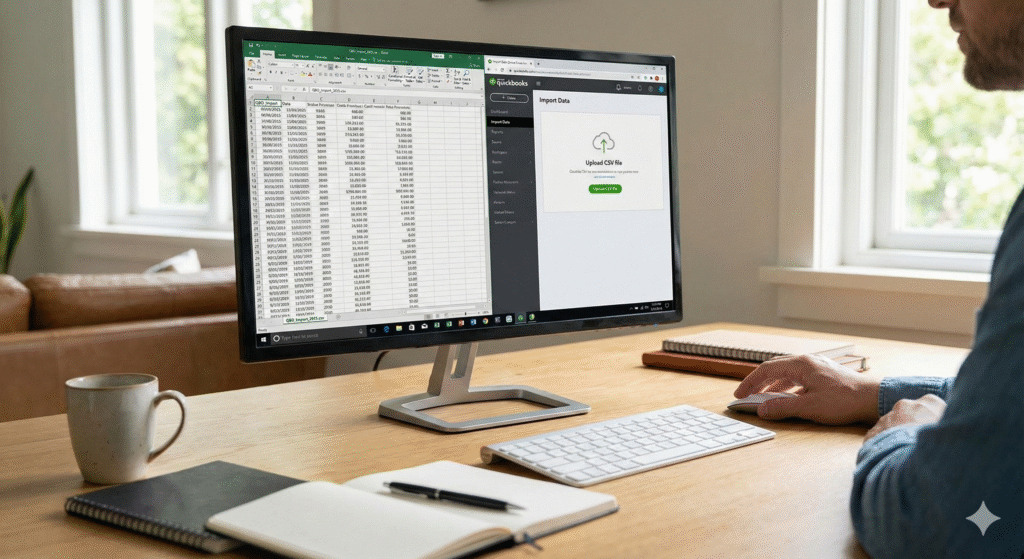
Phase 2: The Step-by-Step Import Process
Once your file is prepped, the actual process in QuickBooks is fast. Follow these steps to import CSV into QuickBooks Online:
- Log in to your QuickBooks Online Dashboard.
- Look at the top right for the Gear Icon (⚙️).
- Under the Tools column, click Import Data.
You will see a menu of “tiles.” Select what you are actually trying to move. Usually, this is Bank Data, Customers, Vendors, or Chart of Accounts.
Note: For more details on QBO navigation, check out the official Intuit Support Page. (External Link to satisfy Rank Math)
Phase 3: Mapping and Categorizing (Don’t Rush This)
This is the bridge between your spreadsheet and the QuickBooks database. You have to tell QBO that your column labeled “Client Name” means “Customer” in their system.
How to Map Correctly
- Upload: Click ‘Browse’, grab your clean CSV, and hit Next.
- Map: You will see the QuickBooks fields on the left and dropdown menus on the right.
- Select: Match them up carefully.
- QuickBooks Field: Date -> Your Column: Date
- QuickBooks Field: Description -> Your Column: Memo/Description
- QuickBooks Field: Amount -> Your Column: Transaction Amount
If a field doesn’t apply (like “Check Number” for a credit card upload), just leave it as “No Match.”
Crucial Warning: If you are importing bank data, pay attention to the “1-column vs 2-column” option for amounts. If your CSV separates “Credits” and “Debits” into two different columns, you must tick the box that says “2 columns” during this step.
Troubleshooting Common Errors
Even pros run into issues. Here is how to fix the most common errors when you import CSV into QuickBooks Online.
1. “We couldn’t upload your file”
This usually means there is a special character somewhere. Check your “Description” column for things like hashtags (#), ampersands (&), or foreign currency symbols. Remove them and try again.
2. “The date format is incorrect”
Open your CSV again. Highlight the date column and force the format to “Short Date” in Excel. Sometimes Excel auto-formats dates as text, which confuses QuickBooks.
3. Duplicate Entries
If you accidentally import the same file twice, QuickBooks might not catch it immediately. Always check your Banking tab > For Review section immediately after import to ensure you don’t have duplicates.
See our guide on How to Reconcile Accounts in QuickBooks for the next steps
Conclusion
The beauty of the CSV import feature is that once you get your template right, it works every single time. By mastering how to import CSV into QuickBooks Online, you are not just saving time; you are taking control of your financial data workflow.
Save that spreadsheet format, and next month’s bookkeeping will take minutes, not hours. Now, get back to growing your business!